HYBRID FLOORING INSTALLATION GUIDE
Imperial Flooring Australia®
This installation guide outlines the mandatory procedures for the correct installation of Imperial Flooring Australia® Hybrid Flooring products. All installations must comply with these instructions and relevant Australian Standards.
Imperial Flooring Australia® Hybrid Flooring is a floating floor system and must be installed accordingly. Failure to follow these guidelines may void the product warranty.
1. General Information
-
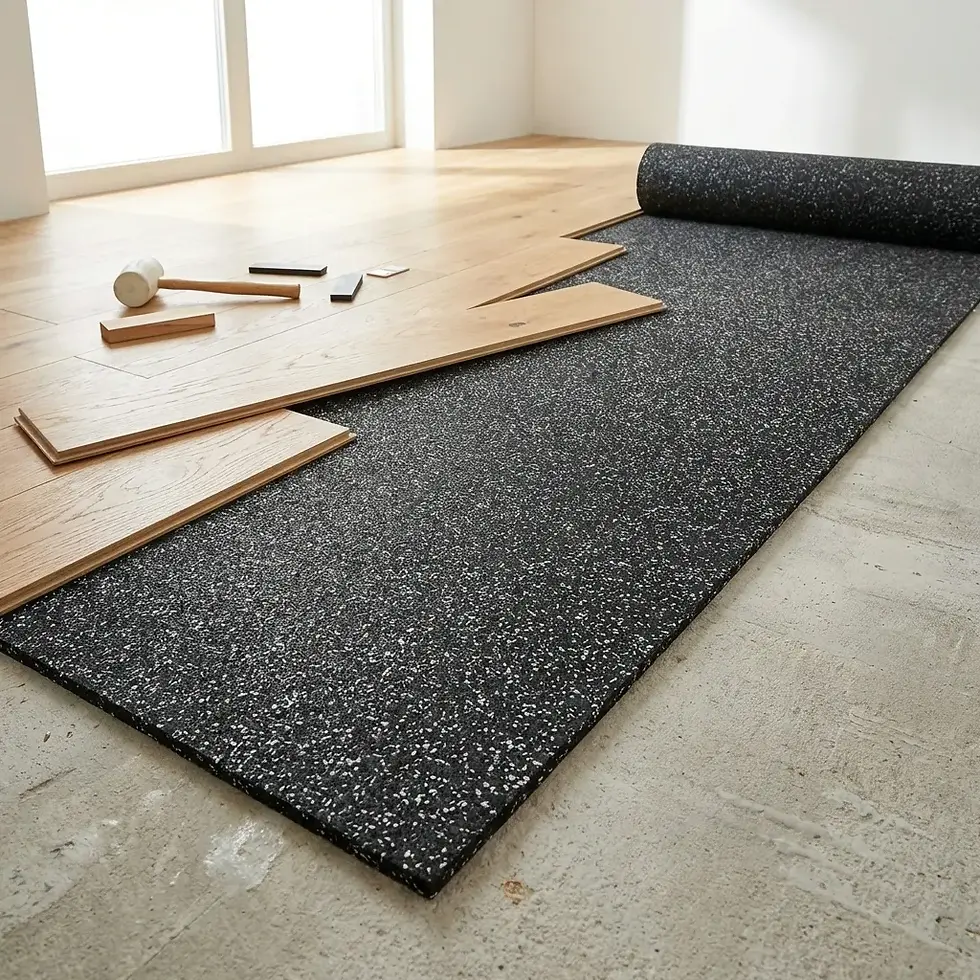
Imperial Flooring Australia® Hybrid Flooring is a rigid core floating floor system with pre-attached underlay.
-
Additional underlay is not permitted unless approved in writing by Imperial Flooring Australia®.
-
The product must be installed as a floating floor and must not be mechanically fixed or glued to the subfloor unless otherwise authorised.
-
Heavy fixed items including kitchen island benches, cabinetry, wardrobes, and partitions must not be installed over floating flooring. Flooring must be installed around these items to allow for natural expansion and contraction.
-
A minimum of 10% additional material must be allowed for cutting waste and future maintenance requirements.
2. Tools and Equipment Required
The following tools are required:
-
Measuring tape
-
10mm spacers
-
Straight edge (minimum 2m; 3m recommended)
-
Mitre saw, table saw, or appropriate floor cutter tool
-
Utility knife
-
Rubber mallet
-
Tapping block
-
Imperial Pulling Iron
-
Multi-tool (for undercutting door frames)
-
Vacuum and cleaning equipment
-
Imperial Flooring Cutter (optional)
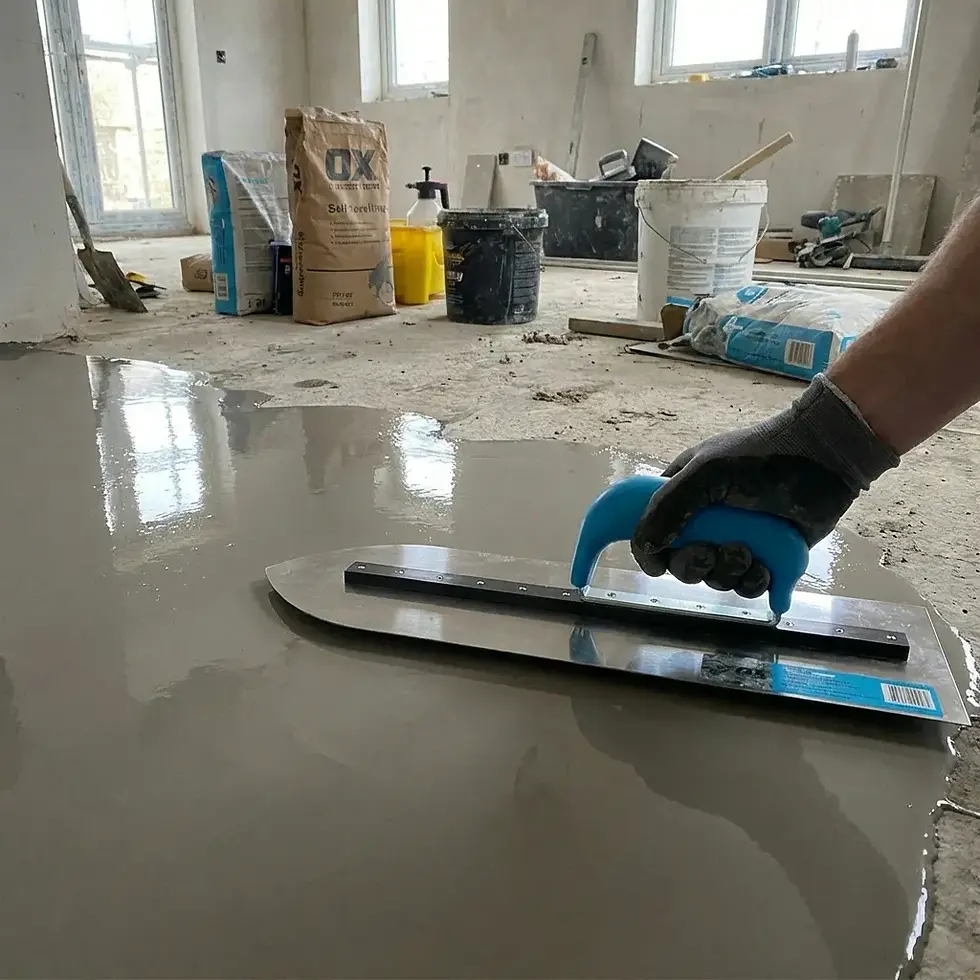
3. Subfloor Requirements
Correct subfloor preparation is critical to product performance.
The subfloor must be:
-
Structurally sound
-
Dry and moisture compliant
-
Clean and free from debris and contaminants
-
Flat within specified tolerances
All carpet staples, adhesive residues, and loose materials must be removed prior to installation.
Subfloor Flatness Tolerance
The subfloor must not exceed: 3mm variation over 3 metres
Flatness must be verified using a straight edge. Non-compliant areas must be rectified using approved levelling compounds, grinding, or sanding.
4. Moisture Requirements
Subfloor moisture content must comply with relevant Australian Standards prior to installation.
For Imperial Flooring Australia® 8mm and 9mm SPC Hybrid Flooring:
-
Additional polyethylene moisture barriers are not required under normal dry internal conditions.
-
Where excessive moisture is present or suspected, a compliant moisture barrier system must be installed prior to laying flooring.
Failure to address moisture-related conditions may result in product failure and void warranty.
5. Undercutting Door Frames
Door jambs and architraves must be undercut to allow the flooring to slide underneath without restriction.
-
Use a plank as a height guide.
-
Undercut using a multi-tool or suitable cutting equipment.
This ensures appropriate expansion allowance and a professional finish.
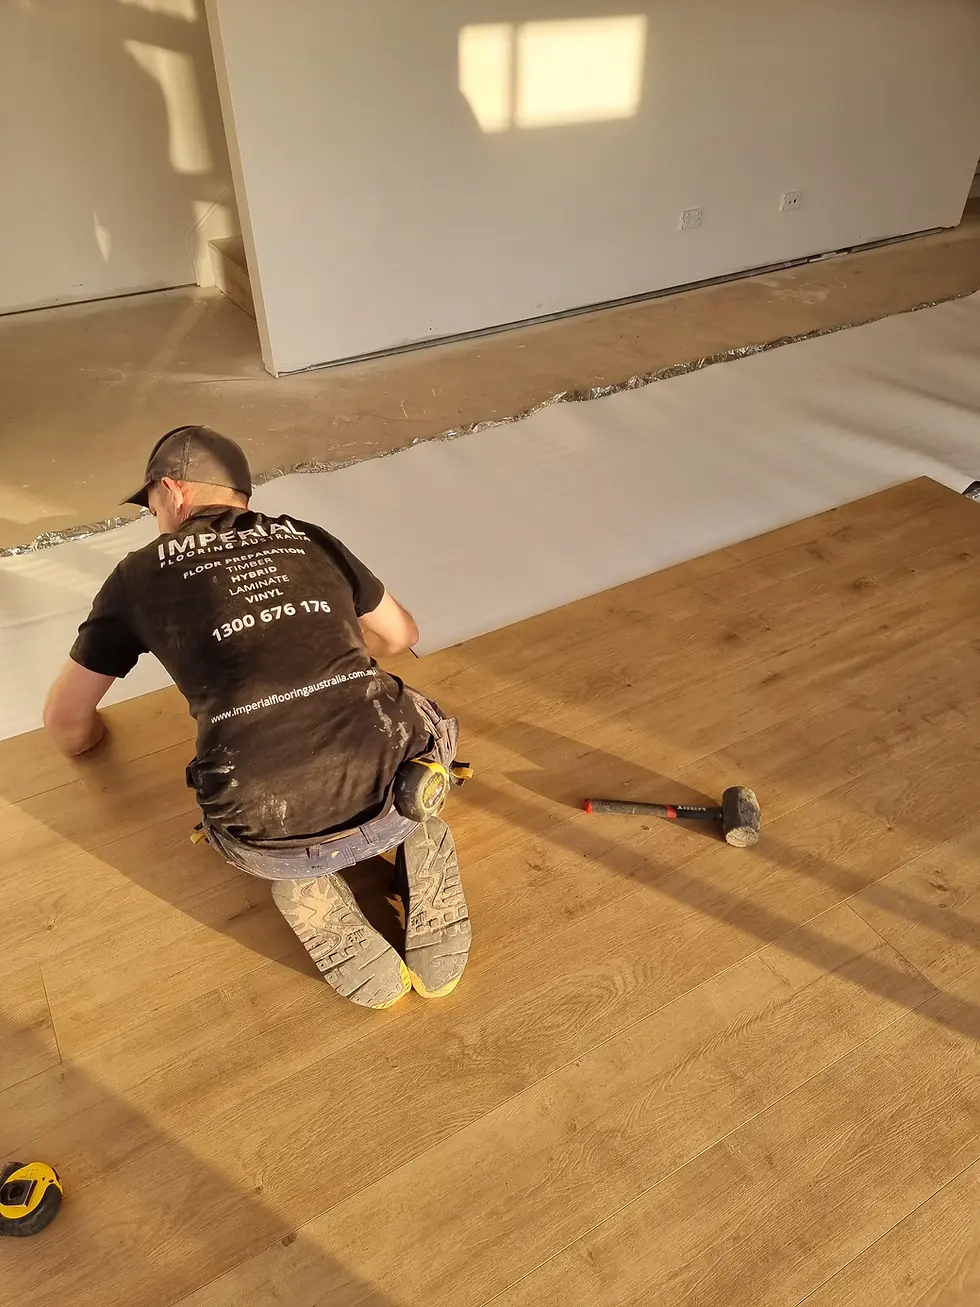
6. Installation Procedure
6.1. Layout Planning
-
Planks should be installed parallel to the longest wall where practical.
-
Plan the layout to avoid narrow finishing rows.
-
Confirm expansion allowances prior to installation.
6.2. Expansion Requirements
A 10mm expansion gap must be maintained:
-
Along all perimeter walls
-
Around fixed objects and penetrations
-
Around columns
-
At transitions between rooms
For installations exceeding 12m x 12m:
-
Install expansion breaks at doorways; or
-
Increase expansion allowance by 1mm per metre beyond 12 metres.
Insufficient expansion allowance may result in peaking, buckling, or product failure.
6.3. Installing the First Row
-
Begin along the longest straight wall.
-
Insert 10mm spacers along the perimeter.
-
Ensure the first row is straight and properly aligned.
6.4. Installing Subsequent Rows
-
Angle the plank at approximately 15–25 degrees.
-
Engage the long edge locking system.
-
Lower gently to secure in place.
6.5. End joints must:
-
Have a minimum board length of 200mm
-
Maintain a minimum 400mm stagger between adjacent rows
Use a tapping block and rubber mallet to secure short edges. Planks must not be struck directly.
7. Cutting and Final Row Installation
-
Measure accurately and allow for required expansion gaps.
-
Cut using appropriate cutting equipment.
For final row installation:
-
Position a plank on top of the previous row (tongue facing wall).
-
Mark the cut line using an additional plank as a guide.
-
Cut to size.
-
Install using a pull bar to secure tightly.
8. Completion and Inspection
Upon completion:
-
Inspect all joints to ensure full engagement.
-
Confirm expansion gaps remain unobstructed.
-
Remove spacers prior to installing skirting or trims.
Skirting boards or scotia must not restrict natural floor movement.
9. Maintenance
To maintain performance:
-
Clean using a pH neutral cleaner approved for hybrid flooring.
-
Avoid excessive water exposure.
-
Do not use harsh chemicals or abrasive cleaners.
-
Install protective pads under furniture.
Disclaimer
Installation must be carried out in accordance with this guide and relevant Australian Standards. Imperial Flooring Australia® accepts no responsibility for failure resulting from improper installation, subfloor non-compliance, environmental conditions, or failure to follow these instructions.