
Installing Engineered Timber Flooring over Acoustic Underlays
- Imperial Flooring Australia

- Jan 24, 2025
- 4 min read
Updated: Oct 24, 2025
Timber floors are frequently used in high-rise and unit developments where it's crucial to minimize noise transmission to acceptable levels to the dwelling beneath. Consequently, timber and other comparable hard flooring products are typically installed on an acoustic underlay.
Transforming your home with engineered timber flooring can elevate any room, making it warm and welcoming. But if you're in a multi-story home or an apartment, you know that noise can be an issue. That's where acoustic underlays come in. These materials reduce sound transfer, making your living space quieter and more comfortable. In this guide, we will walk you through installing acoustic underlays, compliance laws (NCC & Strata Requirements) allowing you to enjoy both beauty and practical functionality.
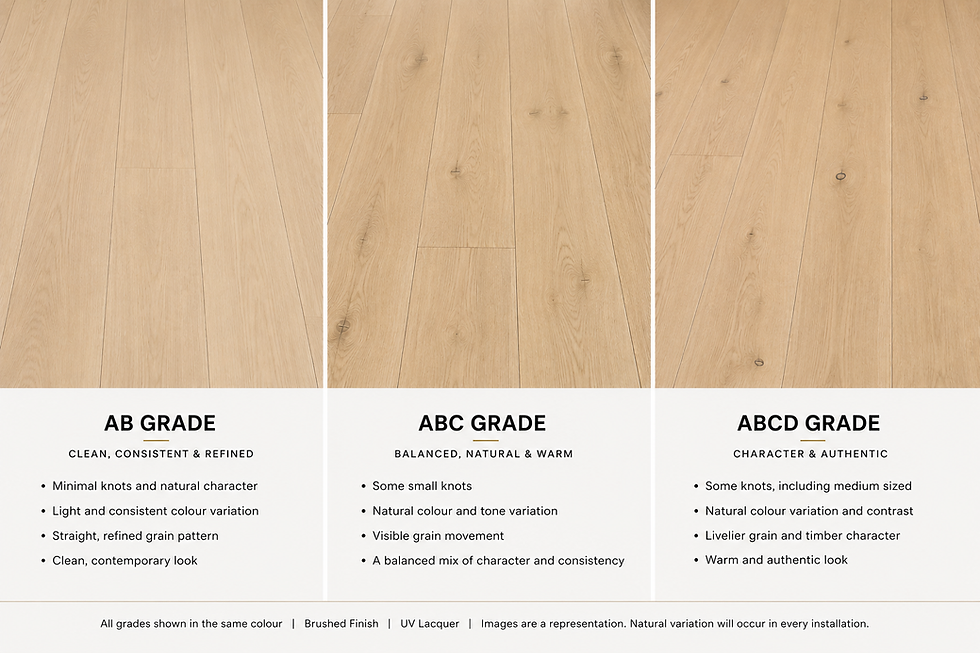
Understanding Engineered Timber Flooring
Engineered timber flooring is made from multiple layers of wood veneer glued together. This construction offers improved stability compared to solid timber, which can warp or change shape with humidity. Engineered timber is a smart choice in various climates, and it can be installed over existing surfaces, such as concrete or tile.
For example, you might find a variety of finishes, from modern oak to Australian spotted gum, giving you plenty of choices to match your home’s decor. Over 95% of homeowners reported a positive change in the aesthetics of their space after flooring upgrades.
Benefits of Using Acoustic Underlays
Acoustic underlays significantly reduce noise transfer between floors. When paired with engineered timber flooring, they can cut down foot traffic sounds, making your environment more peaceful.
Here are key benefits:
Noise Reduction: Acoustic underlays can reduce sound transmission by up to 22 decibels, which can be significant in busy households.
Thermal Insulation: They also help regulate temperature, which can lead to a 15% decrease in energy costs for heating and cooling.
Compliance requirements
NCC Requirements
The NCC mandates that the LnTw for floors separating dwellings should not exceed 62dB. This provides the industry with a target to achieve, and it is easily attainable with selected systems. For comparison, carpet typically achieves an LnTw of around 40, while bare concrete with a 175mm slab may have an LnTw of about 70.
Comparative tests of underlay systems against bare concrete can yield valuable results, and specific field tests on installed floors are also conducted to verify compliance with NCC requirements. During these tests, the size and shape of the room, as well as the degree of completion of both the transmission and receiving rooms, are noted.
Aspects such as slab thickness and the ceiling material beneath the floor are also recorded. The floor or flooring sample is then tested using a tapping machine to generate noise; a noise level meter is used in the receiving room to record the results following a set procedure. The LnTw is determined from the results across a range of frequencies, taking into account factors like background noise.
Tests conducted with timber flooring adhesive-fixed to acoustic underlays, which are in turn adhesive-fixed to the slab, often result in LnTw values between 50 and 60, whereas the bare 175mm thick slab is about 70. Systems may struggle to comply with thinner slabs, requiring closer attention.
Strata Management Requirements
While the guidelines above provide the necessary instructions for construction to comply with NCC requirements, we must also take into account the Strata Schemes Management Act.
This act allows an apartment block to have its own set of by-laws that owners must adhere to, and these can introduce additional restrictions. In some cases, the requirements are less clearly defined than those of the NCC. For instance, a by-law might state that an owner must ensure their floor space is covered in a manner that prevents noise transmission likely to disturb the peaceful enjoyment of the owner below. The by-laws might also require an acoustic report from an Acoustic Consultant. This underscores the importance of obtaining the specific by-laws for an apartment block early in any flooring project.
How to Install Acoustic Underlays
Once your subfloor is ready, follow these steps to install the acoustic underlay.
1. Choose the Right Underlay
Select an acoustic underlay compatible with engineered timber flooring. For example, products with a noise reduction rating of at least 40 to 50 dB will provide good sound insulation.
2. Cut to Size
Unroll the underlay, cutting it to fit your room's dimensions. Make sure it reaches the walls.
3. Lay the Underlay
Lay the underlay over the subfloor. When using multiple sheets, position them end-to-end without overlapping. Secure the seams. For dual bond direct glue down systems, apply glue, then underlay, followed by more glue. For floating floors, the underlay can be installed without glue, using a loose lay method.
4. Lay the Underlay
You can now begin installing engineered timber flooring.

A Beautiful and Quiet Space Awaits
Installing engineered timber flooring over acoustic underlays is a manageable task that can greatly improve the comfort and look of your home. With the right preparation, tools, and techniques, you can achieve a flooring solution that is both stunning and sound-proof.
No matter if you choose to take on this project yourself or hire professionals, understanding the installation process is essential. Enjoy the beauty and tranquillity that your new flooring brings to your living environment.


Comments