HYBRID FLOORING INSTALLATION GUIDE
By Imperial Flooring Australia
Are you ready to transform your space with stunning hybrid flooring? In this comprehensive guide, we’ll walk you through the process step-by-step, helping you achieve a flawless, professional finish with confidence.
Why Choose Hybrid Flooring?
Hybrid flooring is a durable, low-maintenance floating floor that combines style and resilience. It’s perfect for busy households and commercial spaces.
Important: Heavy objects such as island benches and cabinetry should never be installed directly on floating floors. Instead, cut and install the flooring neatly around them.
We also recommend ordering at least 10% extra flooring to cover cuts, fitments, and wastage. Hybrid flooring from Imperial Flooring Australia comes with pre-attached underlay, so no additional underlay is required.
Step 1: Preparation is Key
Before you begin, gather the following tools and materials:
-
Hybrid Flooring Planks
-
Measuring Tape
-
Spacers
-
Mitre Saw / Table Saw
-
Utility Knife
-
White Mallet
-
Tapping Block
-
Pull Bar
-
Straight Edge (2–3m recommended)
-
Multi-tool
-
Vacuum & Cleaning Supplies
-
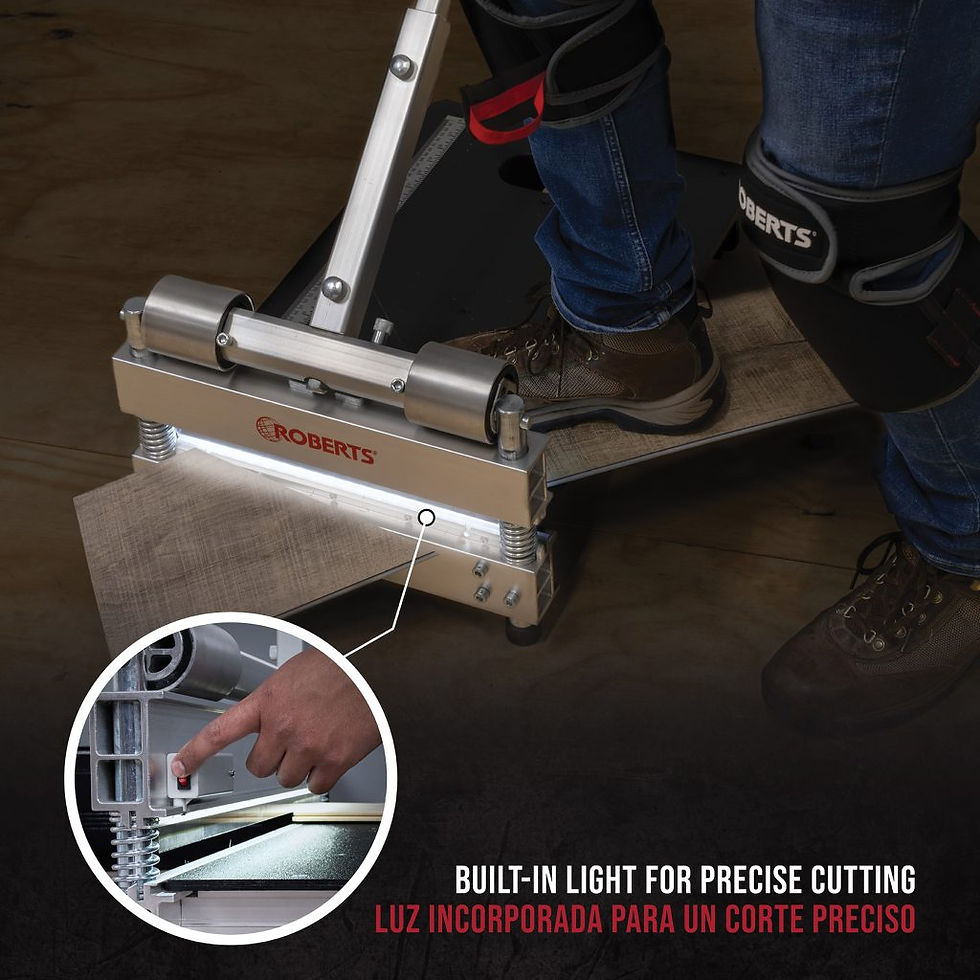
(Optional) Roberts Pro Floor Cutter
Step 2: Prepare the Subfloor
A strong installation starts with the right foundation. The subfloor must be flat, dry, clean, and solid.
-
Remove all carpet staples, glue residue, and debris.
-
Check flatness with a minimum 2m straight edge (3m preferred).
-
Subfloor must meet 3mm over 3m flatness tolerance.
-
Correct uneven areas using levelling compounds, grinding, or sanding.
Moisture note:
-
For Imperial Flooring Australia’s 6.5mm, 8mm, and 9mm SPC Hybrid Flooring, black plastic or moisture barriers are not required under normal conditions.
-
If moisture is present, install a suitable moisture barrier before laying the floor or black plastic.
Step 3: Undercut Door Frames
Use a hybrid plank as a height guide, turn it upside down, and cut door frames with a multi-tool. This ensures the panels slide neatly underneath for a professional finish.
Step 4: Measure and Plan
-
Carefully measure the space and plan your layout.
-
Always aim for a balanced look across the room.
-
Precision at this stage ensures seamless results later.
Step 5: Begin Installation
-
Start along the longest wall, leaving a 10mm expansion gap with spacers.
-
Engage the locking system securely, tilting the plank at 15–25° and pressing down gently.
-
Use offcuts to start the next row, ensuring:
-
Minimum board length: 20cm
-
Joint offset: 40cm
-
-
Connect the long edge first, then lock the short edge with a tapping block and mallet (never strike planks directly).
Step 6: Cut and Fit
-
For end-of-row cuts, measure carefully and allow for expansion gaps.
-
To fit the final row:
-
Place a plank on top of the previous row with the tongue facing the wall.
-
Place another plank upside down to use as a guide and mark your cut.
-
Cut with a mitre saw or utility knife, then tap into place with the pull bar.
-
Step 7: Finalise and Inspect
-
Tap along all joints with a tapping block to ensure a tight, gap-free fit.
-
Inspect the floor thoroughly and correct any issues before finishing.
Step 8: Add Finishing Touches
-
Install transition trims and skirting boards.
-
Re-check door frames and undercuts.
-
These finishing details provide a polished, seamless look.
Step 9: Maintain Your Hybrid Flooring
To keep your new floors pristine:
-
Clean regularly with a manufacturer-approved cleaner (Ph Neutral Cleaner)
-
Avoid harsh chemicals and excess water.
-
Place felt pads under furniture to protect the surface.
Expansion Gap Requirements
-
Leave a 10mm expansion gap around all walls, skirtings, and transitions (per Australian Standards).
-
For rooms larger than 12m x 12m:
-
Add expansion breaks at doorways OR
-
Increase perimeter gaps by 1mm per metre beyond the 12m threshold.
-
Conclusion
By following this guide, you’ve mastered hybrid flooring installation step by step. With careful preparation, precise cutting, and attention to detail, you can now enjoy the strength, style, and durability of your new hybrid floors—installed with confidence.
Embrace the transformation – Install Hybrid Flooring Like a Pro with Imperial Flooring Australia.


