LAMINATE FLOORING INSTALLATION GUIDE
To ensure a successful installation of floating laminate flooring, it’s important to remember that heavy objects such as kitchen island benches and cabinetry should not be installed directly on floating floors. Instead, the flooring should be cut and laid neatly around these fixed items.
We recommend allowing for at least 10% extra flooring to cover cuts, fitments, and installation wastage.
Unlike hybrid flooring, laminate flooring requires the purchase of a floating floor underlay, which must be installed across the subfloor before laying the laminate planks. This underlay provides cushioning, sound reduction, and added stability for a professional finish.
Laminate Flooring Installation Guide
By Imperial Flooring Australia
If you’re looking to add a touch of elegance and durability to your space, laminate flooring is an excellent choice. Its versatility and easy maintenance make it a popular option for both homes and commercial settings.
In this comprehensive guide, we’ll walk you through the step-by-step process of installing laminate flooring like a seasoned professional.
Materials You’ll Need
Before starting, gather the following tools and materials:
-
Laminate flooring planks
-
Floating floor underlay
-
Spacers
-
Tape measure
-
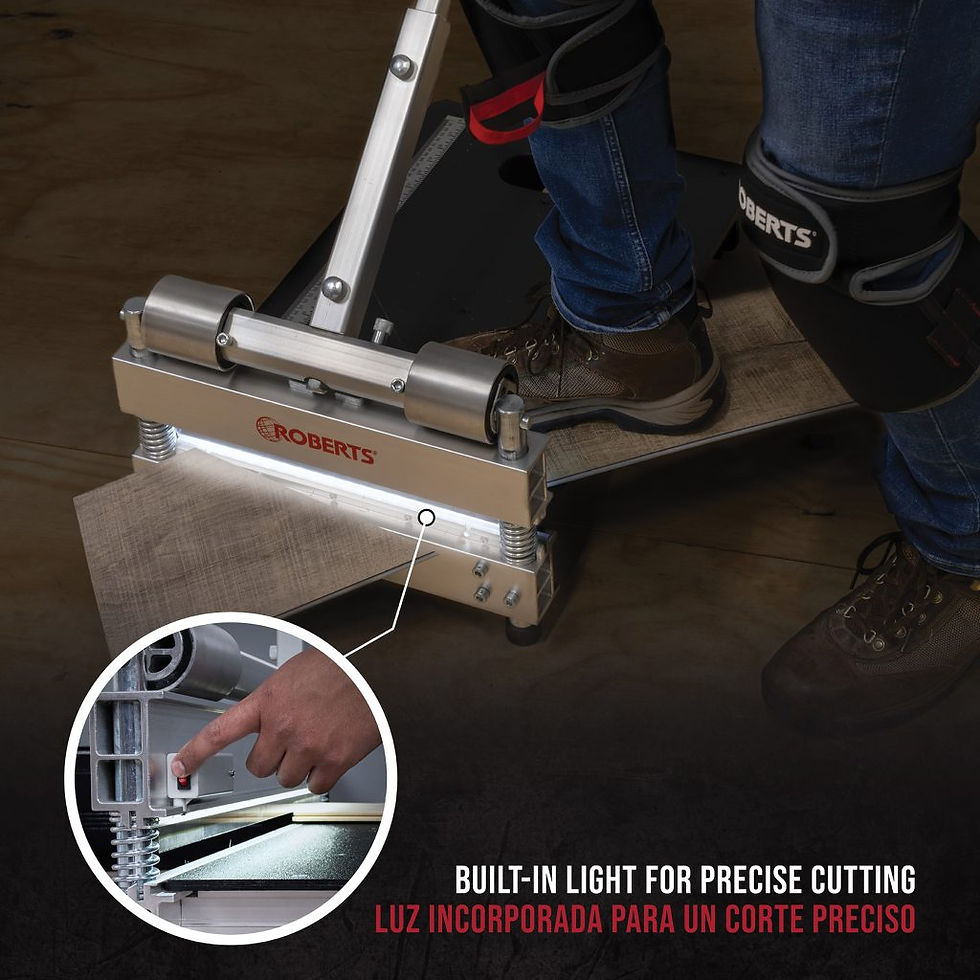
Mitre saw / Table saw
-
Jigsaw
-
White mallet
-
Pull bar
-
Tapping block
-
Straight edge (minimum 2m or 3m recommended)
-
Multi-tool
-
Cleaning supplies
Step 1: Prepare the Subfloor
The subfloor must be flat, dry, clean, and solid to ensure a proper installation.
-
Remove any carpet staples, glue, or residue.
-
Thoroughly vacuum and clean the surface.
-
Using a minimum 2m straight edge, check for flatness. *3mm over 3m Australian Standards requirement*
-
Any uneven areas must be corrected to the manufacturer’s tolerance guidelines (using self-levelling compounds, floor grinding, or sanding).
✨ A properly prepared subfloor guarantees the longevity and appearance of your new laminate flooring.
Step 2: Lay the Underlay
Install the floating floor underlay across the subfloor.
This layer provides moisture protection, cushioning, and sound reduction, creating the perfect foundation for your laminate flooring.
Step 3: Plan the Layout
Carefully measure the room to decide where to begin laying the planks.
-
Aim for a balanced look across the space.
-
Consider how the planks will line up at walls, doorways, and transitions.
📏 Tip: Precision planning saves time and reduces offcuts.
Step 4: Undercut Door Frames
Use a laminate plank as a height guide, flip it upside down, and trim the bottom of the door frame with a multi-tool.
This allows the laminate to slide neatly underneath for a clean, professional finish.
Step 5: Install the First Row
-
Begin along the longest wall.
-
Cut off the tongue side of the first row with a table saw or jigsaw.
-
Use spacers to maintain a 10mm expansion gap around the perimeter.
-
Ensure the first row is perfectly straight — this sets the foundation for the entire installation.
Step 6: Continue Installing
-
Install the next rows by engaging the planks into the locking system.
-
Start each new row with the offcut from the previous row to stagger the joints.
Key Guidelines:
-
Minimum plank length: 20cm
-
Joint offset: at least 40cm
-
Tilt the plank at a 15–25° angle, lower it into place, then lock the joint with light pressure.
-
Use a tapping block and white mallet (never strike planks directly) to close gaps.
This ensures a tight, seamless fit while protecting the locking system.
Step 7: Cut Around Obstacles
-
When installing around doorways, cupboards, or kitchen units, carefully measure and cut the planks for a precise fit.
-
Always maintain the 10mm expansion gap around all fixed structures.
Step 8: Finish the Installation
-
Install transition trims between flooring types or rooms.
-
Re-check and adjust door frame undercuts if necessary.
-
Install skirting boards for a polished, seamless finish.
Expert Tips for a Flawless Finish
✅ Follow Manufacturer Guidelines – Always check specific instructions for your laminate flooring.
✅ Use Quality Tools – Sharp, accurate tools make cleaner cuts and easier installation.
✅ Control Moisture – Laminate is not waterproof; clean spills promptly and avoid wet mopping.
✅ Maintain Expansion Gaps – Consistent 10mm gaps prevent buckling and allow natural expansion.
Conclusion
By following these steps and expert tips, you can achieve a professional-quality laminate flooring installation. With precision, patience, and the right tools, you’ll transform any space with style, durability, and functionality.
✨ Remember: A confident, detail-oriented approach ensures a flawless result — and every perfectly laid plank will showcase your craftsmanship.